TL;DR: I designed a 3D printed fume extractor for soldering; you can make your own if you read this.
I recently got into 3D printing, electronics, and related topics. I want to write more about this in the future, as there is quite a lot to say on this wonderful subject. Today, however, I wanted to showcase my latest creation. This is significant because it is the first complete “product” I have created that could be used by anyone, not just me.
I have now reached a stage in my new hobby where I needed to learn soldering, something I had never done before. I was quite afraid of soldering. I remember my dad doing it regularly at home and warning me that it could be dangerous. So, once I reached the point in my current project (a 3D printed RC car) where I could no longer prolong learning to solder I quickly prolonged it by convincing myself that I needed a fume extractor. For safety.
Classic case of “getting distracted by building tools so you can continue working on something else,” and it also provided a wonderful excuse to avoid something I was anxious about.
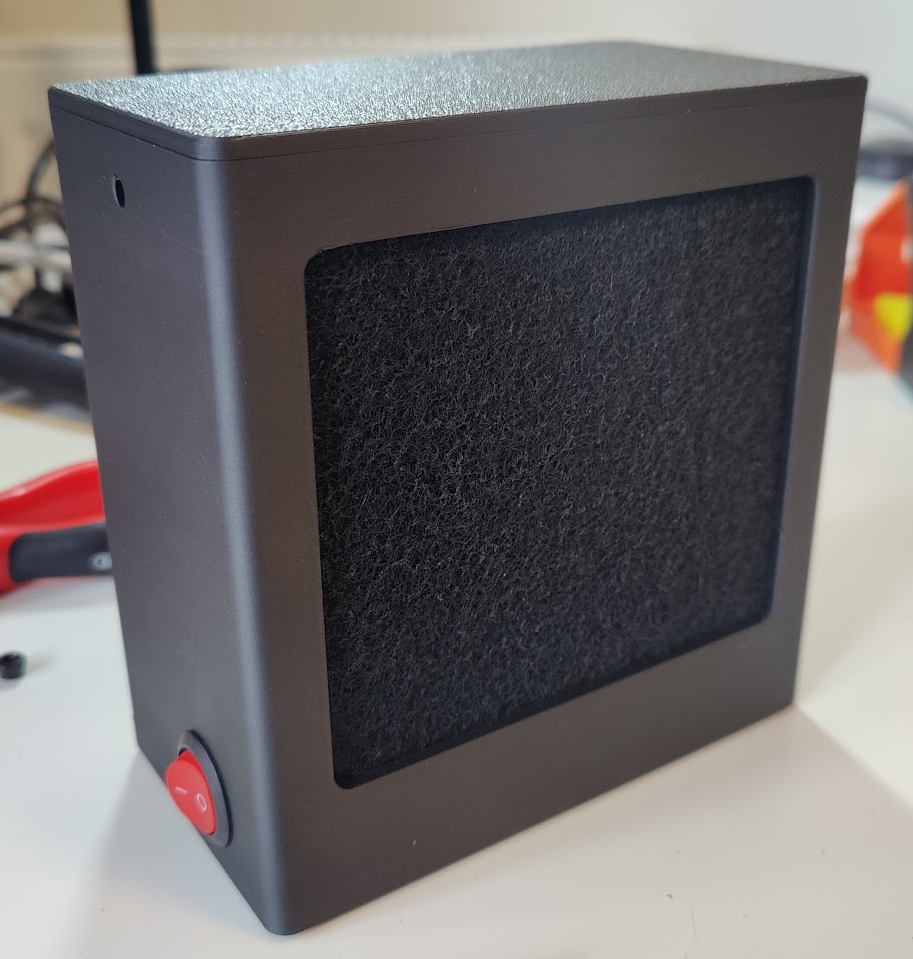
In all seriousness, a fume extractor is genuinely useful to have in the workshop. Inhaling fumes from solder can be dangerous, especially when using leaded solder. I got the initial inspiration from this iFixit video but decided to try my hand at designing my own. And here it is, in all its glory:

It uses a 9V battery, a PC fan, and some activated carbon filters. I quite like how it turned out, and it works fairly well. The only change I would like to make is to use a 12V power source to improve its effectiveness. At the moment, it does the job, but some fumes do not go through the filter. However, it still pulls the fumes away from me, so it is acceptable for a V1.
The design isn’t complicated. I tried to create a different mechanism to keep the lid snapped to the box, which is why you can see some holes in the picture above that aren’t in the CAD model. The original mechanism didn’t work and I had to redesign the lid but didn’t want to reprint the box, as I dislike creating waste unless necessary. I also fixed the sizing for the battery holder in the final CAD compared to what I printed, but that wasn’t anything a bit of electrical tape couldn’t fix to keep the battery in place.
I must mention the fantastic bearings on the Noctua NF-P12 fan. They are incredibly smooth. A gentle flick of the finger makes the fan spin for quite a while. If you told me they used magic to make them, I would believe you. However, from what I understand, it’s magnets, which, I guess, is basically magic. I need to explore this further to see if consumer-grade bearings are available somewhere, as they would be very useful in some of my future projects.
I have put all the files and the Bill of Materials on my github here if you would like to make your own. It is very cheap (as long as you already have a 3D printer).